
Ooooo, it’s so exciting to finally be at this point in our series on mastering Mailchimp. It’s time to add your signup form to your blog.
You’ve got your forms all designed and looking pretty. You’ve added your form to Facebook and now you are ready to let your blog readers know you are open for business. The business of building your email list.
Adding a Mailchimp sidebar form will help you to attract more subscribers and gain the edge as you begin to build your email list.
As I mentioned in a previous lesson there are numerous ways to add a Mailchimp signup option to your site. There are sidebar forms, free standing page forms, in-post forms, end-of-post forms, pop up boxes, bars, drop downs, and much more.
Our focus is to get your signup form on your blog in the sidebar ASAP. Mailchimp makes this crazy easy with embedded forms. So, let’s get started.
{Updated for 2019}
Start by getting signed into your Mailchimp account. Make your way to the Audience tab at the top and click it. We’re going to be working from the Signup Forms tab. (This may also be found in the drop down menu on the right from Manage Audience.
Today, choose the Embedded Forms option.
Great! In this section you have several options for creating a signup form on your blog.
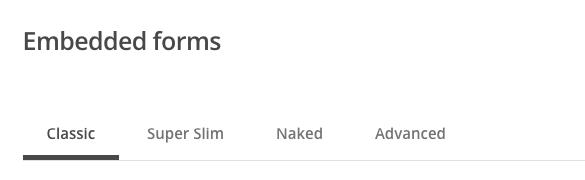
Classic
The classic option is a stylized form with your required fields, any extra fields you’ve added to your signup form, and a subscribe button.
With this option you can choose how the form will look from the title to the available fields to the width.
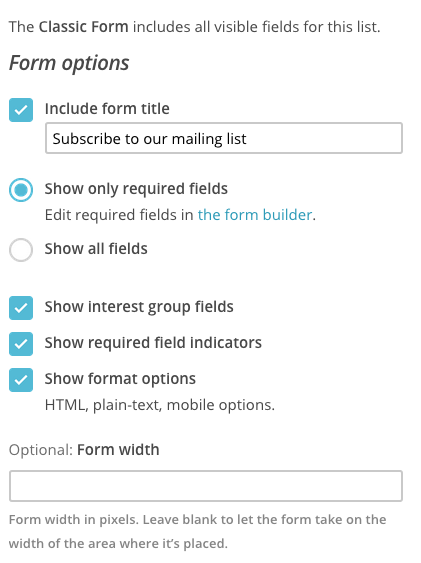
Remember, sidebars are valuable real estate. Make this form short, sweet, and to the point for best results. Avoid too many options because studies show readers sign up when they don’t have to make a lot of choices.
This means choose a form title, use only the required fields, and leave the width blank so it conforms automatically to your sidebar width.
Once you create your form and it looks the way you want it to look, Mailchimp will give you the code you need to add this form to your sidebar.
Simply, copy and past the code into a TEXT widget on your sidebar. Save and refresh your blog. Voila! You’ve got a basic form.
Nice job.
Super Slim
This is an ideal option if you are only collecting email addresses and don’t care about names or frequency options. The Super Slim form only asks for an email address. If you have other require info it will allow you to disable them to create this form.
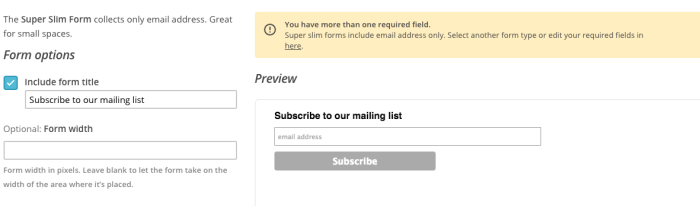
Again, add a form title and then copy and leave the width box empty.
Copy and past the code provided into your TEXT widget on your sidebar, save, and refresh your blog. Bing. Bang. Boom.
Naked
The Naked style form means there is no styling being allowed on the form. No CSS or Java Script. I’m not sure why you would want this type of form, but if you do, follow the steps we’ve already discussed to add it to your sidebar.

Advanced
This section isn’t for beginners. However, as you advance in your blogging you may want to delve into the options on this page for more customized and detailed forms.
You did it. You added a signup box to your blog sidebar. Great job. You are really advancing in your mastery of Mailchimp.
If you would like to add a signup box to another part of your site, you can use this same code.
The beauty of Mailchimp is that it integrates with numerous plugins and other programs so it is easy to add your signup form to your site using a whole host of options. In a future lesson we will look at some good third-party options you might want to up your game and get even more sign ups.
#YouCanDoThis

[mc4wp_form id=”11788”]
Leave a Reply